
I’m not going to lie, I’m an acrylic stilettos girl. Specific, I know, but for those who get nails, you understand that it’s important to share what type of nails you like. Also, I just like sharing. ( Please share with your favorite nail style with me, too! )
Unlike some other outlets out there, I’m not going to say anything to diminish the pricing of going to a salon. It is absolutely worth it, in my opinion, to get your nails done for many many reasons. Anyone who is doing you a service deserves to be paid for their skill and time PERIOD.
But I reserve those expensive nails for big events. Such as a wedding where I get to go without a plus one because that is where I am in life so might as well get that widowed-twice look going now.
For most other events, I turn to alternatives because stilettos are for that long term lasting, back-up weapon days.
Option 1: Polish with Foxlogy

I’m not usually a nail polish person but I recently carried a bottle in my bag on a trip. I found painting my toenails to pass the time extremely soothing. There is something really picturesque about it and reminds me of simpler times.
I’m messy and am prone to spasms in my hand due to intrusive thoughts. ( Remember that time 10 years ago when you did something cringe-worthy? Yeah. ) So unfortunately, nail polish is a risky game for me.
Still, that recent experience is a reminder that simple is sometimes the way to go.
If you do go for painted picturesque moments, Foxology by the beloved hair color brand Arctic Fox has a beautiful assortment of nail lacquer. Their colors are vegan, cruelty-free and contain vitamins A & E, Argan Oil, Aloe, and Biotin. My personal favorite is their Periwinkle, a color I used to get at the salon often.

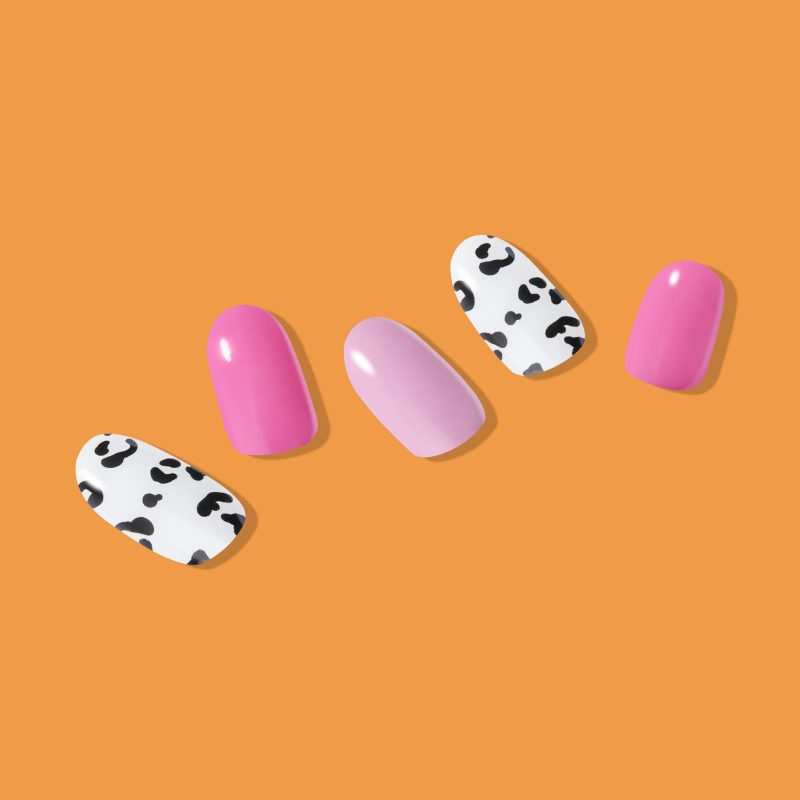
Option 2: Press-Ons with Rave Nailz
I absolutely love press-on’s. Cute, quick, and you can apply them right before your Uber arrives ( don’t recommend doing this though). If all you need is for the nails to last a weekend, these work amazingly. I have gotten press-on’s to last two weeks, though, with only 3 casualties that were fixable from the spares in the box.
Pro tip: always keep nail glue in your bag just in case one falls off.
Press-On’s are my usual go to as an alternative to salon nails. But I want fun ones. If I have to forego my luxurious glittery finger pokers, I want to get the designs I’ll never usually go for since adding designs are a higher cost.
Rave Nailz absolutely wins at the press-on game. Their collection is fun, festival-friendly, and contains actual stiletto and pointed nail sets. All of their designs appeal to the party girl in me who, while not in Vegas, mentally lives in a Vegas like climate at all times.
Rave Nailz has a slew of witch-y themed nails, kawaii style nails, trippy, edgy and in between. I personally went straight for the Acid Smiley Nails as they perfectly match my deteriorating mental state.

Option 3: At-Home Gel Nails with Hip Chic
Now, I never considered having Gel nails at home because I can barely stand the process of painting on one layer of polish, forget having to do a base, color, top coat, etc. Maybe I’m just overthinking it, but I am severely deterred from turning relaxing beauty pastimes into chores.
Hip Chic introduced something new to me. Never have I ever heard of semi-cured gel nail strips before ( I do live under a rock some days, so forgive me). The long-lasting, bright colors are now the same effort of putting a sticker on and calling it a day.
Well, it’s more steps than that.
After cleaning, cutting, cuticle-ing your nails, you match the correct nail size to your nails. This is similar to matching the correct press-on nail. Then you apply the nail strip to the entire nail and press firmly. After that, you file any excess strip material. You can also use a nail clipper or scissor. I personally prefer the nail file to avoid shortening the nail length by accident. However, clipping it is faster so it’s up to you.
Remember to fold a bit of that strip material over your nail to get a cleaner look instead of a raw clipped edge.
Press down everything good because once you set it, it’s set.
The final step is to cure it under a UV lamp. Hip Chic has them available on their website if you are like me and did not already have one. Cure the nail by pressing the power button and putting your nail underneath the spacey light. The light should last for 60 seconds or long press it for 2-3 seconds and the light will last 90 seconds.
They recommend doing this final step twice. I found it easy to do because after pressing the button I could easily pass the time by dissociating. Perfect little timer.
Hip Chic also has an excellent video detailing how to apply their nail strips most effectively.
So if you need a cheaper alternative, or just won’t have time to make it to the salon before that fancy event, Beauty News NYC has some options for you.
Until next time beauties ~

